The Refine of Specialist Home Window Tinting Explained
From picking the right movie type to the meticulous prep work of home windows, each step plays a critical role in attaining a perfect application. Following these preliminary prep work, the careful cutting and application of the film need accuracy to avoid blemishes.
Selecting the Right Window Movie
Selecting the right home window movie entails understanding various elements that affect both visual charm and functionality. The preliminary factor to consider is the kind of film, which can range from dyed, metalized, to ceramic movies. Dyed films mostly give privacy and aesthetic enhancement, while metalized films reflect warmth and UV rays, improving power efficiency. Ceramic movies, although typically extra expensive, offer remarkable efficiency without endangering exposure.
Following, think about the film's Visible Light Transmission (VLT) percent, which identifies exactly how much light gets in the room. A reduced VLT gives better privacy and warmth being rejected but may decrease natural light substantially. Furthermore, the film's solar warmth gain coefficient (SHGC) is crucial; a lower SHGC suggests much better thermal performance, helping to maintain indoor convenience.
Preparing the Windows
Once the proper window film has actually been picked, the next step is extensively preparing the windows for setup. This preparation is crucial for attaining optimum attachment and ensuring a remarkable look post-installation.
The first task involves cleaning the home windows carefully (window tinting). A top quality glass cleanser is vital, ideally one that is ammonia-free to prevent damaging any kind of window seals or color materials. Utilizing a lint-free towel or paper towels, service technicians should remove any kind of dirt, dust, or oil, paying special interest to the sides and edges where particles frequently accumulates
Cutting the Movie
A specific strategy to cutting the movie is crucial for making certain a best fit on the ready windows. This action requires both ability and focus to information, as inaccuracies can cause unpleasant voids or overlaps that compromise the visual and useful qualities of the tint.
Prior to cutting, the specialist should determine the home window dimensions precisely, accounting for any kind of distinct forms or shapes. It is recommended to make use of high-grade window movie, as this product tends to be a lot more flexible throughout the reducing process. The movie is see typically laid flat on a tidy, smooth surface area, and a sharp utility knife is utilized to make certain clean edges.
To accomplish optimum results, numerous experts utilize design templates produced from previous installments or make use of software to develop exact patterns. A common technique entails adding an added margin to the theme, permitting for modifications throughout the application phase.
In addition, reducing the movie in a controlled atmosphere decreases the risk of pollutants impacting the glue side. By adhering to web these meticulous practices, home window tinting experts can make sure that the movie not just fits effortlessly yet additionally executes effectively over time, boosting both look and capability.
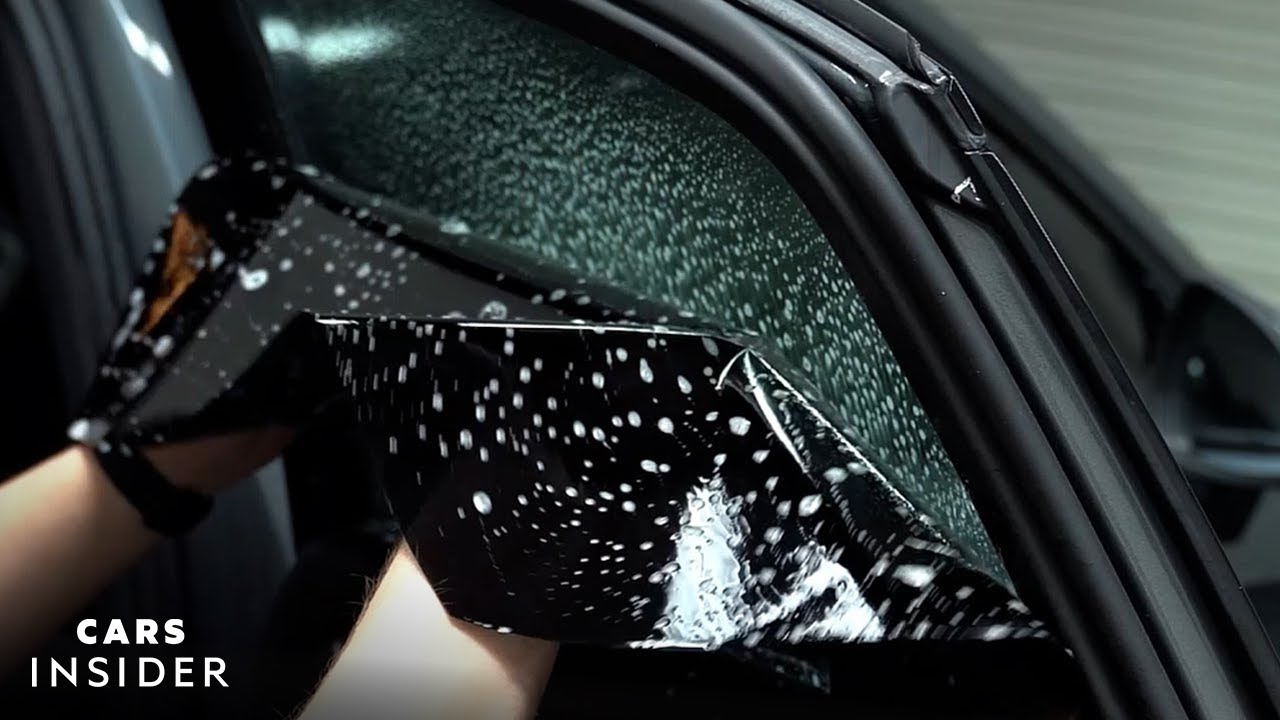
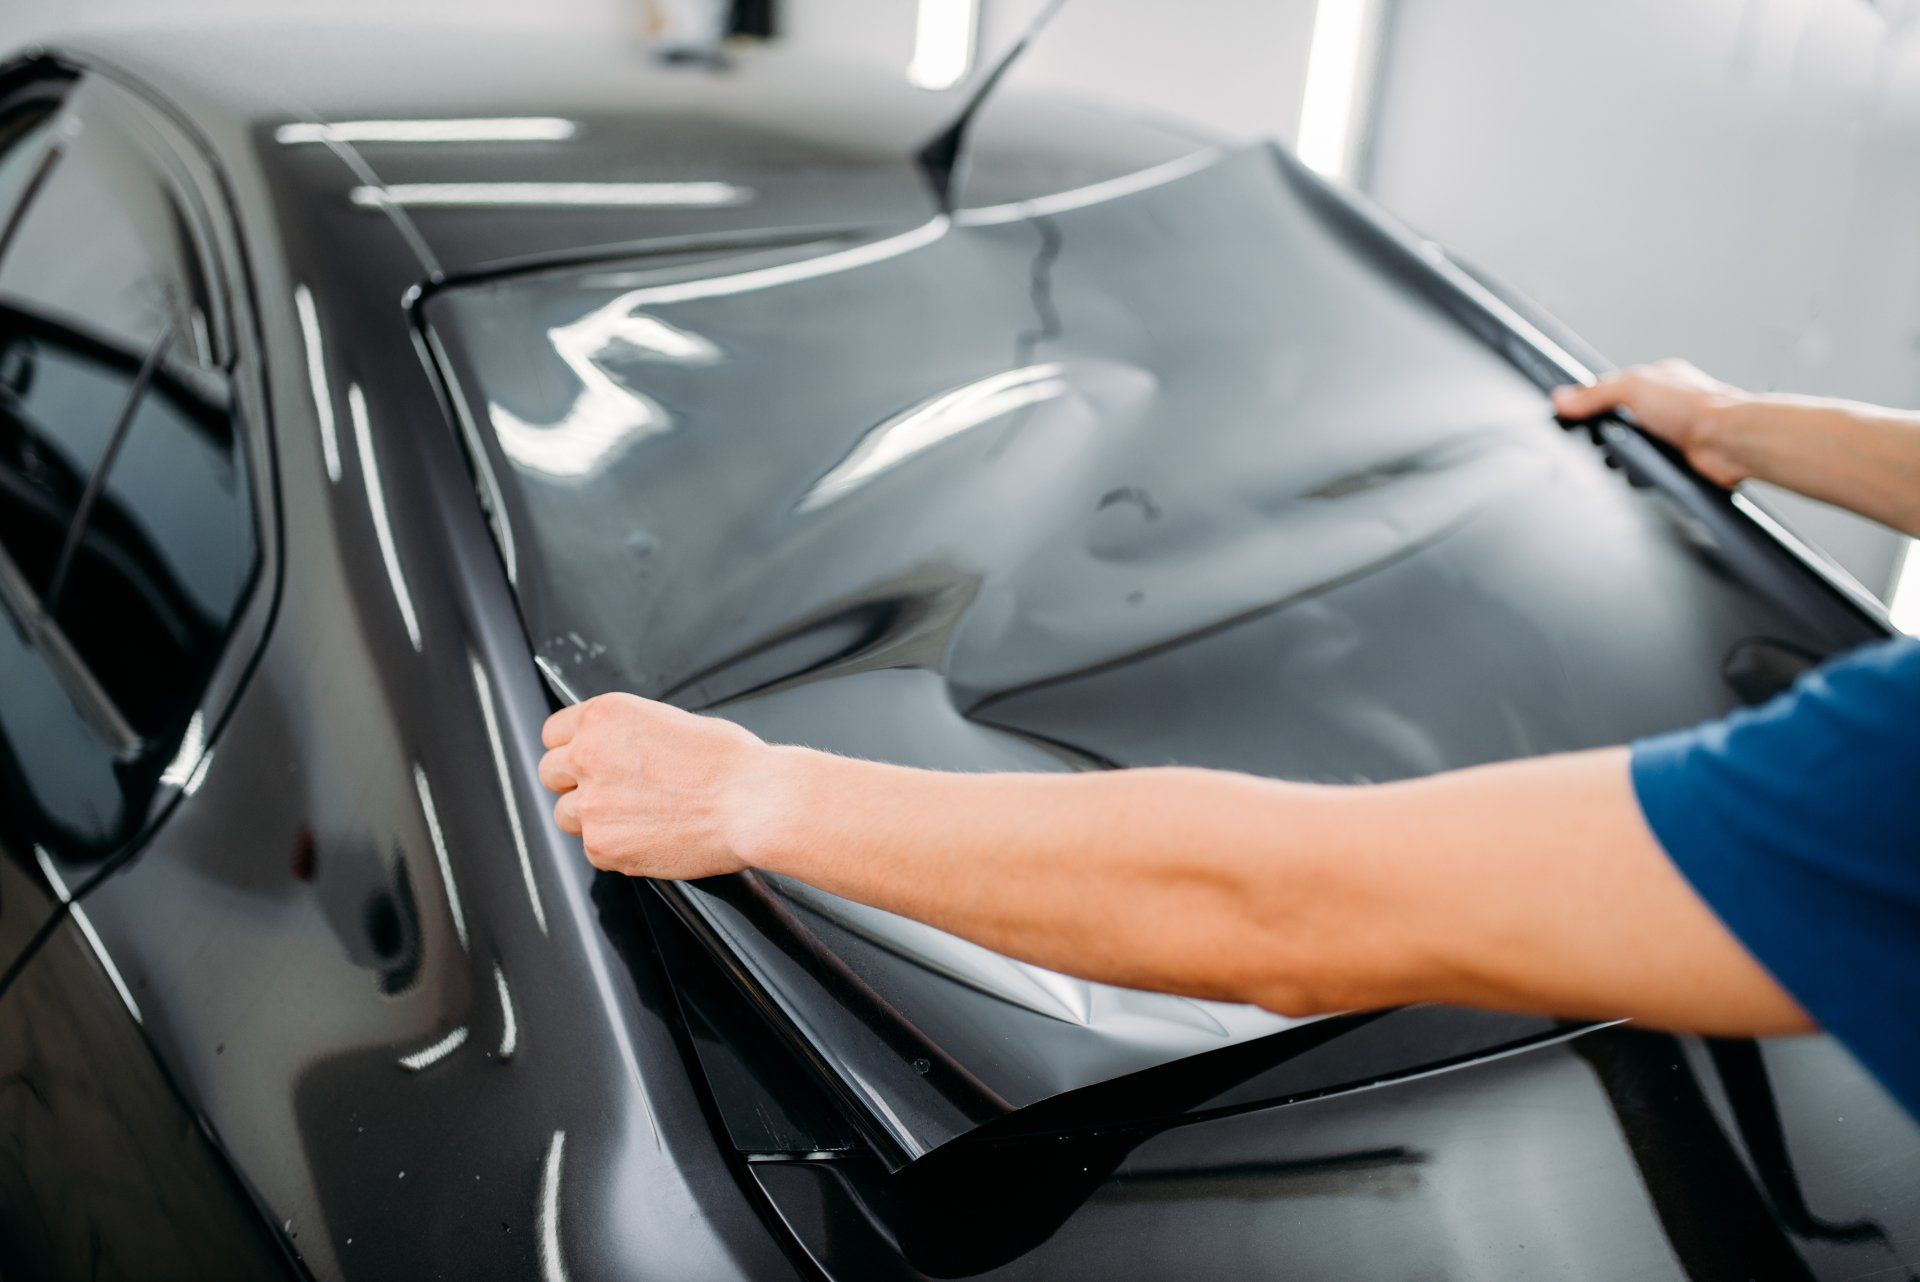
Using the Tint
After thoroughly cutting the film to the appropriate dimensions, the following action includes applying the tint to the window surface. This process starts with making certain that the home window is clean and without any type of dust, particles, or deposits that might affect adhesion. A customized cleansing option is usually used, complied with by comprehensive drying with a lint-free fabric.
Once the surface area is prepared, the installer will meticulously place the tint film versus the glass. It is critical to line up the movie precisely to avoid misplacement, as any kind of mistakes can result in an unprofessional look. To facilitate this, the installer might utilize a light haze of application remedy on the glue side of the movie, permitting navigate to these guys for slight repositioning if necessary.
Using a squeegee, the installer will after that start to push the film onto the glass, functioning from the center in an outward direction to get rid of air bubbles and make sure a company bond. This technique is important, as it guarantees a smooth and remarkable surface. Throughout the application, attention to detail is crucial to avoid folds or flaws, making sure that the tint not just improves aesthetics however also supplies the desired performance.
Last Examination and Care
The final assessment is a vital action in the home window tinting procedure, ensuring that the installment fulfills both visual and practical criteria. During this phase, professionals thoroughly take a look at the installed color for any type of flaws, such as bubbles, folds, or misalignments. A complete analysis also includes inspecting the adherence of the film to the glass, as well as its harmony and total look.
After the examination, proper care and maintenance instructions are supplied to the customer. It is vital to inform them about the recommended timeline for cleaning the tinted windows, normally advising a wait of at least thirty days after installation to allow the sticky to treat fully. Customers need to be enlightened on appropriate cleansing products and techniques, emphasizing the avoidance of ammonia-based cleansers that can damage the tint.
Additionally, experts need to suggest consumers on the relevance of normal upkeep to extend the life of the tint. This consists of periodic look for indications of wear or damages and reacting immediately to any type of issues. By ensuring a comprehensive last assessment and offering clear treatment guidelines, home window tinting experts improve customer satisfaction and the long life of their job.
Conclusion
The specialist window tinting process incorporates several critical actions that ensure top notch outcomes. Selecting the proper movie type, preparing the home windows carefully, properly cutting the film, and applying it with accuracy are essential for accomplishing a remarkable surface.